11 August 2026
Drumstick Maintenance: Make Your Sticks Last Longer
Drumstick Maintenance: Make Your Sticks Last Longer
Wipe, inspect, rotate, and store dry. That four-step habit takes under a minute per session and is the single most effective drumstick maintenance routine you can build. Do it consistently and you will break fewer sticks mid-song, spend less replacing them, and play with more consistent feel every time you sit down.
Start here, right now:
- Wipe the shaft and tip with a dry cloth after every session to remove sweat and oils
- Run your fingers along the grain to check for splinters or cracks before you put them away
- Swap which stick plays which hand at the start of each session to even out wear
- Store them in a ventilated stick bag, away from direct sun and heat sources
- Never leave sticks in a hot car or sealed case overnight
Pro Tip: Tape a small index card with this checklist to the outside of your stick bag. The habit sticks when the reminder is impossible to miss.
Key Takeaways
Consistent drumstick maintenance comes down to five habits: wipe after every session, inspect before you store, rotate pairs, store dry and away from heat, and replace at the first sign of cracking or rebound loss.
| Point | Details |
|---|---|
| Wipe after every session | Remove sweat and oils from shaft and tip to slow wood fiber breakdown. |
| Inspect before storing | Check for cracks, splinters, mushroomed tips, and rebound loss every time. |
| Rotate pairs each session | Swap dominant and non-dominant sticks to even out wear across both. |
| Store dry, away from heat | Avoid hot cars, direct sun, and sealed humid cases to prevent warping and brittleness. |
| Replace at first crack | A cracked stick is a safety risk; tape does not fix structural failure. |
Table of Contents
- Your session checklist for protecting sticks every time you play
- Where and how to store sticks so they don’t warp or go brittle
- How to inspect sticks and know when it’s time to retire them
- Playing technique and setup changes that reduce breakage
- Minor repairs you can do safely on the road
- How wood species and tip shape affect durability and your maintenance needs
- The trade-off between saving sticks and protecting your feel
- Sources
Your session checklist for protecting sticks every time you play
A repeatable pre- and post-session routine is the backbone of any solid care practice. Spend 60 seconds on it and you will catch problems before they become broken sticks.
Before you play:
- Check cymbal angles: flat or angled too steeply toward you creates a sharp edge that chews through wood fast. Kit setup directly affects stick wear, and a cymbal tilted at the wrong angle is one of the most overlooked causes of early breakage.
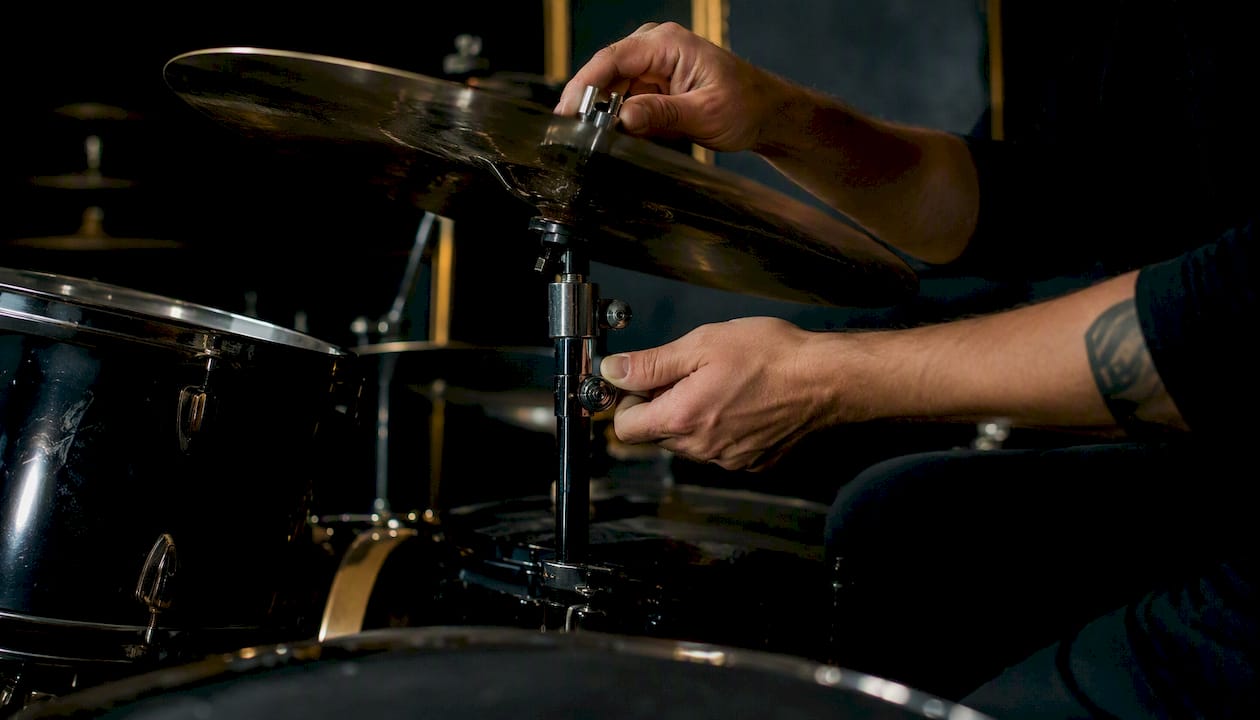
- Confirm hardware is tight. Loose stands let cymbals and drums move unpredictably, creating stress points on impact.
- Warm up on a practice pad for five minutes before hitting the kit hard. Cold muscles lead to tighter grips and harder, less controlled strokes.
After you play:
- Wipe tips and shafts with a dry cloth. Sweat and skin oils break down wood fibers over time.
- For nylon-tip sticks, mild soap and water removes grime that dulls attack and affects cymbal sound. Rinse lightly and dry completely before storing.
- Inspect each stick for chips, splinters, or mushrooming at the tip.
- Rotate pair position: the stick that played your dominant hand goes to the other side next session.
Pro Tip: Clean nylon tips every one to two weeks if you play regularly. Buildup on nylon is subtle but it kills cymbal shimmer faster than most drummers realize.
Where and how to store sticks so they don’t warp or go brittle
Wood is sensitive to its environment. Keeping sticks dry and out of direct sun or hot cars prevents two of the most common forms of damage: brittleness from extreme dryness and warping from excess humidity.
Do this:
- Store sticks in a purpose-built stick bag or tube with ventilation. A cool, dry spot in your home is ideal.
- Keep them horizontal if possible, so gravity doesn’t gradually bow the shaft.
- Allow sticks to air out after a sweaty gig before sealing them in any bag.
Avoid this:
- Hot cars. Dashboard temperatures in summer can exceed 130°F, which dries wood out fast and makes it crack-prone.
- Sealed, humid cases with no airflow. Moisture trapped against wood softens the grain and leads to warping.
- Storing wet sticks. If you played through a sweaty session, wipe them down before they go in the bag.
Sweat and skin oils are slow-acting but real. Over weeks of daily playing, the oils from your hands penetrate the wood grain and gradually weaken the surface. A quick wipe after each session is the cheapest protection you have.
How to inspect sticks and know when it’s time to retire them
Not every worn stick looks obviously broken. Some of the most important replacement triggers are subtle, and playing past them costs you feel and technique before it costs you the stick itself.
Inspect for these at every session:
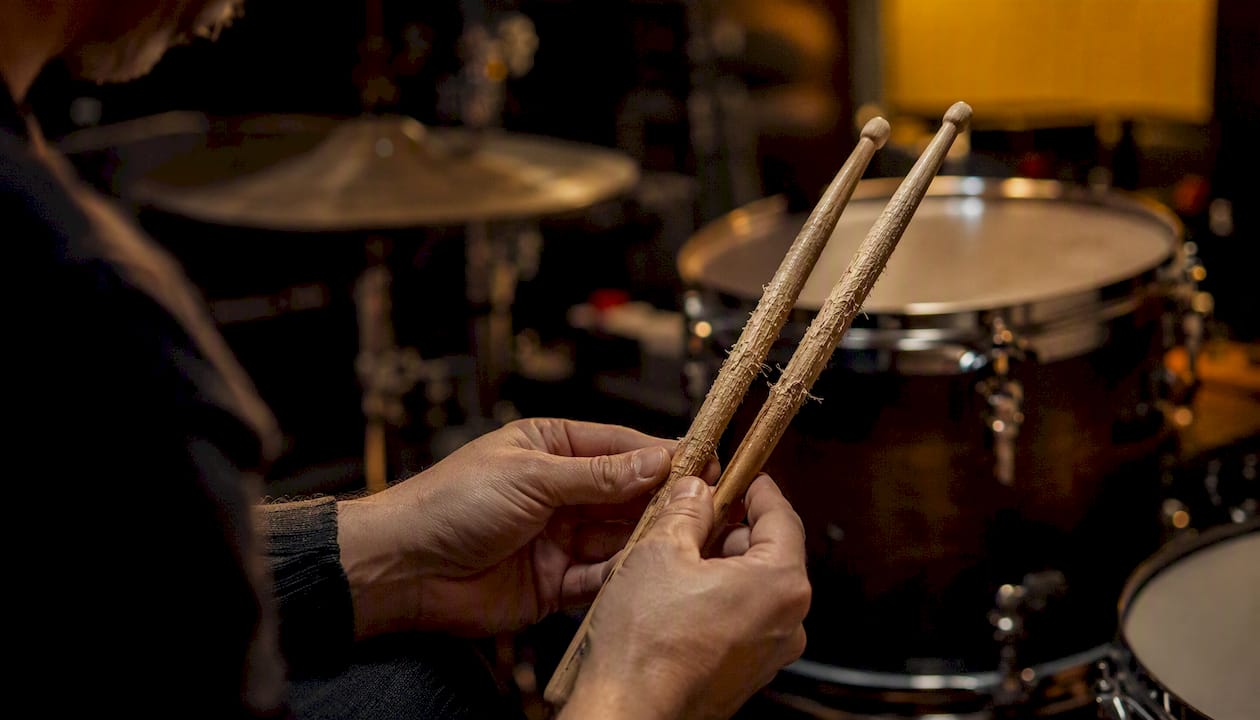
- Cracks along the grain, especially near the shoulder or taper
- Splinters on the shaft that could cut your hand or snag on a head
- Mushrooming at the tip: a tip that has flattened or spread changes rebound and tone
- Large chips near the shoulder, where most rim contact happens
- Loss of rebound or a dead, unresponsive feel when bouncing the stick on a head
That last one matters more than most drummers give it credit for. Teachers recommend replacing sticks when feel or rebound changes, not only when they visibly break. A stick that feels subtly off is already undermining your technique.
Rough replacement timelines:
Replacement frequency depends heavily on playing style, wood type, and how hard you hit. Heavy gigging drummers who play loud, rim-heavy styles may go through sticks in days. A student practicing lightly on mesh heads might keep the same pair for months. There is no universal number, but a practical rule: inspect after every session and replace at the first sign of cracking, not the last.
Playing technique and setup changes that reduce breakage
Most stick breakage is not bad luck. It’s technique. The forces that snap a stick are almost always avoidable with small adjustments.
Strike placement and angle:
- Aim for the center of drumheads. Edge hits and rim shots concentrate force on the narrowest part of the stick.
- Hit hi-hats at the top, not the edge. Edge contact on a hi-hat is one of the fastest ways to chip a shoulder.
- Avoid sharp downward angles on cymbals. A glancing, follow-through stroke lets the stick ride the cymbal rather than fight it.
Grip and rebound:
- A tight grip absorbs none of the rebound energy. The stick takes all of it. Technique errors like tight grip and poor striking angle are a major cause of premature breakage, and loosening up even slightly makes a measurable difference.
- Practice the Moeller technique or basic rebound exercises on a pad to build the muscle memory for a relaxed stroke.
Kit setup:
Cymbal angle, stand stability, and drumhead tension all affect how much stress transfers to the stick on each hit. Loose hardware lets instruments move unpredictably; a cymbal that shifts mid-stroke creates an uneven impact that concentrates force at one point on the shaft.
Pro Tip: Spend the first five minutes of every practice session on a pad, not the kit. It warms up your hands, reinforces good rebound habits, and keeps your sticks off hard surfaces until your technique is dialed in.
Minor repairs you can do safely on the road
Not every imperfection means a stick is done. A few quick fixes can get you through a set safely, as long as you know where the line is.
- Sand small splinters. Use 220-grit sandpaper and work with the grain, not against it. A few strokes smooth a rough spot without removing meaningful wood.
- Smooth a mushroomed tip. Light sanding in a circular motion can restore a slightly flattened tip to something closer to its original shape. Don’t overdo it; removing too much material changes the balance.
- Tape for grip. A wrap of grip tape near the butt end can restore feel on a stick that has become slippery from wear. Tape alters balance, so treat it as a temporary fix, not a permanent solution.
- Glue for loose nylon tips. A small drop of super glue can re-seat a nylon tip that has started to lift. Let it cure fully before playing.
One hard rule: never play a cracked stick in a performance. A crack near the shoulder can cause the tip to fly off mid-song, which is a safety hazard for you and anyone nearby. Tape over a crack does not fix it.
How wood species and tip shape affect durability and your maintenance needs
Choosing the right stick for your playing style is itself a form of maintenance. The wrong material for your style means more breakage, more spending, and more disruption to your feel.
Wood species comparison:
| Species | Weight | Durability | Best for |
|---|---|---|---|
| Hickory | Medium | High shock absorption, balanced lifespan | Most styles; the most common choice |
| Maple | Light | Lower density, breaks more easily | Jazz, light playing, speed work |
| Oak | Heavy | Dense and durable, longest typical lifespan | Heavy hitters, loud genres |
Hickory tends to balance strength and shock absorption; maple is lighter and breaks more easily; oak is denser and more durable but heavier. For most drummers, hickory is the practical default. Oak is worth considering if you consistently break sticks at the shoulder.
Tip material and shape:
Wood tips produce a warmer, fuller tone but wear faster on cymbals. Nylon tips last longer on the tip itself and deliver a brighter, more consistent attack, but they accumulate grime that needs regular cleaning to maintain that clarity.
Tip shape affects both sound and wear. Round tips concentrate contact on a small surface area, which is great for cymbal definition but can wear the tip faster. Barrel and oval tips spread contact, which tends to last longer under heavy use.
Pro Tip: Keep two pairs in rotation: one for heavy rehearsals and gigs, one for lighter practice sessions. The pair you protect during low-intensity work will feel fresh when you need it most.
The trade-off between saving sticks and protecting your feel
There is a real tension between stretching stick life for budget reasons and replacing them early enough to protect your technique and tone. Most advice leans toward conservation, but that framing misses something.
A stick that has lost its rebound, developed a flat tip, or picked up a subtle warp is not just worn. It’s actively working against you. You compensate without realizing it, gripping tighter, adjusting your stroke, chasing a sound that isn’t there anymore. For a student, that compensation builds bad habits. For a gigging professional, it undermines consistency at the worst possible time.
The practical answer is different for each player. A student on a budget should follow the full maintenance routine, rotate pairs, and replace at the first sign of cracking or significant rebound loss. A gigging drummer should keep fresh sticks in the bag for performance and use older, still-structurally-sound pairs for practice. The goal is never to squeeze every last hit out of a stick. It’s to play well every time you sit down.
Conservation and performance are not opposites, but they require honest assessment. If a stick feels off, trust that feeling.
Sources
- Kiakamma
- How Long Do Drumsticks Last? (and how to make them last …) - Electronic Drum Advisor
- How Long Do Drumsticks Last? - Essential Drumming