18 August 2026
Design Custom Drumsticks: Spec-to-Order Checklist
Design Custom Drumsticks: Spec-to-Order Checklist
Designing custom drumsticks comes down to four decisions and one review step: pick your specs, build bold artwork for the shaft, request a matched prototype, then approve it for production. That’s the whole process. London Drumstick Co. and Temple of Sound both run standard custom orders around a minimum of 24 pairs, which is worth knowing before you sketch a single logo, because it shapes how much artwork revision and prototyping actually makes sense financially.
Before you contact a supplier, nail down these four spec choices:
- Length and size (7A, 5A, 5B, 3A, 2B, or an X-series model)
- Diameter and taper (thin and whippy vs. thick and stiff)
- Tip shape and material (round, barrel, acorn; wood or nylon)
- Wood species and finish (hickory, maple, hornbeam; lacquered or raw)
Get those four right and everything downstream, from artwork placement to prototype approval, moves faster.
Key Takeaways
Custom drumsticks perform best when spec choices (size, taper, tip, wood) are locked in around your playing style before artwork or pricing enter the conversation.
| Point | Details |
|---|---|
| Specs come first | Choose length, diameter, taper, tip, and wood before designing artwork or requesting quotes. |
| Match sticks to style | Thinner 7A/5A sticks suit jazz; thicker 3A/2B suit rock and metal for durability. |
| Design for the cylinder | Use bold, high-contrast artwork placed above the grip zone so it survives play and reads onstage. |
| Never skip the prototype | Approve a physical sample, checking weight, tip consistency, and print alignment, before full production. |
| Plan around minimums and lead time | Expect a 24-pair minimum order and two to four weeks from approved prototype to delivery. |
| Temple of Sound handles coordination | As the UK’s London Drumstick Co. distributor, Temple of Sound manages mock-ups, matched pairs, and production for retail and trade orders. |
Table of Contents
- Quick Spec Checklist: Length, Tip, Wood, and Finish
- How Do You Match Drumstick Specs to Your Playing Style?
- What Artwork Rules Work Best on a Drumstick Shaft?
- What Happens During Prototyping and Quality Checks?
- How Much Do Custom Drumsticks Cost and How Long Do They Take?
- How Long Do Custom Drumsticks Last and When Should You Reorder?
- A Practical Take on Designing Your Own Sticks
- Build Your Custom Sticks With Temple of Sound
- Frequently Asked Questions
- Sources
Quick Spec Checklist: Length, Tip, Wood, and Finish
Start with size, because it dictates everything else. A 7A is thin and light, built for jazz brushwork and low-volume rooms. 5A is the all-purpose standard most drummers already know. 5B and 3A add girth for rock and pop where you need more stick in your hand without going full metal. 2B is thick and heavy, common in marching and hard-hitting rock. X-series sticks (like an 8D or 10S) skew toward drum corps and orchestral use, prioritizing volume and projection over finesse.
| Spec | Feel It Gives You |
|---|---|
| 7A / 5A | Fast, light, precise for jazz and light pop |
| 5B / 3A | Balanced power and control for rock/pop |
| 2B / X-series | Maximum volume and durability, less speed |
| Nylon tip | Bright, cutting attack, longer tip life |
| Wood tip | Warmer, rounder tone, more traditional feel |
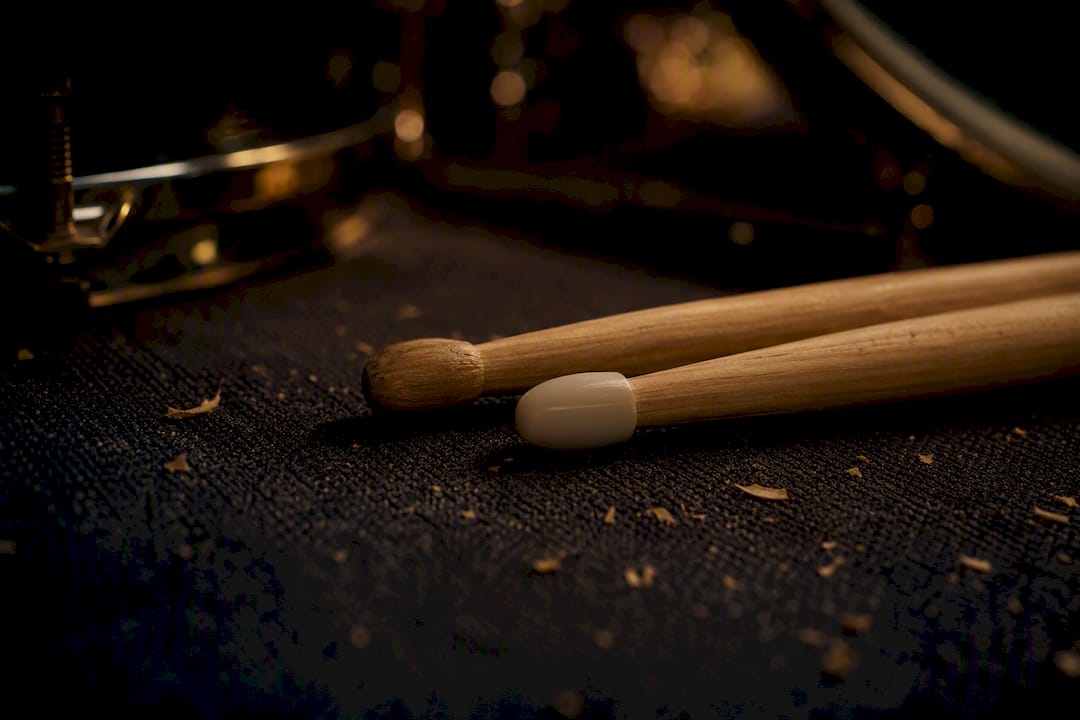
Tip choice changes your cymbal sound more than almost any other spec. Nylon tips read brighter and hold up longer, while wood tips deliver a warmer attack, which is why jazz and orchestral players tend toward wood and rock or metal drummers lean nylon. Wood species matters too: hickory absorbs shock and resists snapping, maple is lighter but softer, and hornbeam sits between the two with a denser, heavier feel.
Pro Tip: If you go through sticks fast or play heavy-handed styles, size up one increment (5A to 5B, or 5B to 3A) before you assume you need a different wood. Diameter fixes more breakage problems than material does.
How Do You Match Drumstick Specs to Your Playing Style?
Your genre and technique should drive every spec decision, not the other way around.
- Jazz and brush work: 7A or 5A, thin taper, wood tip for a rounder ride sound and quick rebound.
- Pop and studio session work: 5A or 5B, moderate taper, nylon tip for consistency across multiple mic’d cymbals.
- Rock: 5B or 3A, thicker taper, nylon tip for durability through long sets.
- Metal and heavy rimshots: 2B or a reinforced 3A, minimal taper, nylon tip built to survive constant rim contact.
- Musical theater and pit work: 5A with a barrel tip for articulate dynamics across brushes, mallets, and sticks in one show.
Grip style matters as much as genre. Drummers who favor a loose fulcrum and lots of rebound usually want a longer stick with more taper, since the extra flex amplifies bounce. Drummers who play tight and controlled, especially matched-grip rock and metal players throwing constant rimshots, do better with less taper and more mass near the tip, because that combination survives the impact.
Breaking sticks constantly is almost always a size problem, not a technique problem. Moving up to a 3A or 2B for heavy-handed styles cuts breakage and actually improves rimshot attack compared to sticking with a thinner model out of habit.
Pro Tip: If you rotate between an acoustic kit and an electronic pad setup, order two color-coded batches at slightly different lengths. It saves you from grabbing the wrong pair in a dark green room.
What Artwork Rules Work Best on a Drumstick Shaft?
The printable area sits on the shaft above the grip zone, and that placement matters more than most first-time designers expect. Suppliers recommend keeping artwork clear of the primary grip zone so friction from your hand doesn’t wear the print away after a few gigs.
Design for a cylinder, not a flat page. Small text and fine details blur at stage distance and under harsh lighting, so keep the rules simple:
- Use bold, thick lines with a single clear focal point (a logo mark, not a paragraph of text).
- Choose high-contrast color pairs (light on dark, or a metallic accent against a solid base).
- Skip gradients and photo-realistic detail; they don’t survive the print process or the lighting rig.
For printing method, match the technique to your artwork’s complexity. Pad printing and screen printing handle single or limited-color logos efficiently, while full-color digital printing is the right call for photographic or gradient-heavy designs. Send your supplier vector art (AI or EPS) when possible, or a minimum 300 DPI raster file, in CMYK, with a small safe margin around the edges so nothing gets clipped during wrap.
What Happens During Prototyping and Quality Checks?
Every legitimate custom order follows roughly the same path: you choose specs, upload artwork, get a digital mock-up back for approval, then a physical sample or prototype run before the full production order goes through. Skipping the physical prototype to save time is the most common regret drummers report after a bad batch.
Weight and tone matching happen at this stage too. Manufacturers who offer matched-pair services weigh and tone-test sticks so both halves of a pair feel and sound identical, which matters far more for recording sessions than casual practice.
When your sample arrives, check for:
- Artwork alignment (no visible seam or misregistration where the print wraps).
- Even lacquer with no cloudy patches or drips.
- Consistent tip shape and size between both sticks in the pair.
- Weight and balance point matched within a gram or two.
Sample runs typically add one to two weeks onto your timeline before full production starts, and catching a defect here costs you days, not the entire order.
How Much Do Custom Drumsticks Cost and How Long Do They Take?
Most full-custom runs start at a minimum order, commonly shown as 24 pairs for a complete custom build, because setup costs for artwork plates and machine calibration don’t scale down well below that volume.
Your per-unit price moves with a handful of factors:
- Total quantity ordered (higher volume drops the per-pair cost significantly).
- Number of colors and printing method (multi-color digital costs more than single-color pad printing).
- Matched-pair weight/tone service (adds a modest per-pair fee).
- Tip material (nylon tips usually cost slightly more than wood).
- Express production (rushing a timeline typically adds a surcharge).
A useful way to picture it: a small 24-pair minimum order carries most of the fixed setup cost, so doubling or tripling your quantity spreads that fee across more units and the price per pair drops with each larger batch you commit to. Expect a few weeks from approved prototype to delivery for standard runs, longer if you’re mid-revision on artwork or the supplier is dealing with material shortages. Build in buffer time before a tour launch or merch drop; shipping delays are the most common last-mile surprise.
How Long Do Custom Drumsticks Last and When Should You Reorder?
Store your sticks away from hard concrete or metal surfaces, rotate multiple pairs through rehearsal instead of running one set into the ground, and keep them dry. A lacquer or wax finish slows wear on the printed shaft area noticeably.
Watch for these signs it’s time to reorder:
- Visible wear or fading in the grip zone where the hand contacts the shaft repeatedly.
- Tip flattening, chipping, or splitting.
- One stick in a pair feeling noticeably heavier or shorter than its partner.
Reorder ahead of a tour start, an album launch, or a merch batch sellout rather than waiting until you’re down to your last pair.
Pro Tip: Before committing to a full merch run, order a small re-run first to confirm the color and print still match your original batch. Dye lots and lacquer batches can shift slightly between orders.
A Practical Take on Designing Your Own Sticks
Most guides treat custom drumstick design like a merch afterthought: slap a logo on a stock stick and call it done. That’s backwards. The stick is the instrument you touch every single beat of every show, so the spec decisions (taper, tip, wood) deserve at least as much attention as the artwork does.
The bigger mistake I see is drummers skipping the physical prototype to save a week or two. A digital mock-up tells you nothing about how lacquer looks on actual wood grain, or whether your logo placement survives real grip friction after one set. Approve a sample, not just a render.
If there’s one thing worth prioritizing first, it’s matching your stick to your actual playing style before you touch artwork at all. A gorgeous logo on the wrong taper still breaks in your hand by the second song. Get the size and tip right, then make it look like you.
Build Your Custom Sticks With Temple of Sound
As the UK’s exclusive distributor for London Drumstick Co., Temple of Sound gives you a direct path from spec sheet to finished pair without hunting down a manufacturer yourself and hoping the mock-up matches what you imagined.

Temple of Sound coordinates the parts that trip up first-timers: matched-pair weight and tone checks, artwork review before it goes to print, and prototype samples you approve before committing to a full batch. Retail drummers and drum shops running trade accounts both get access to the same production pipeline, so a solo player ordering their first 24 pairs and a shop placing a wholesale batch move through the same quality process.
Ready to start? Pull together your spec sheet (size, tip, wood, finish) and your artwork file, then head to the Temple of Sound site to kick off your build and get a mock-up back.
Frequently Asked Questions
What’s the minimum order for custom drumsticks? Most full-custom runs start around 24 pairs, since setup costs for artwork plates and print calibration don’t scale efficiently below that volume.
Can I put a full-color logo on a drumstick? Yes. Full-color digital printing handles photographic or gradient-heavy designs, while pad printing or screen printing works better for single-color or high-volume logo runs.
How long does it take to get custom drumsticks made? Expect roughly two to four weeks from an approved prototype to delivery for a standard run, plus one to two weeks upfront for sampling and mock-up approval.
Do custom drumsticks cost more than stock sticks? Per-pair cost runs higher due to setup fees, but the price drops significantly as quantity increases, so larger orders spread that fixed cost across more pairs.
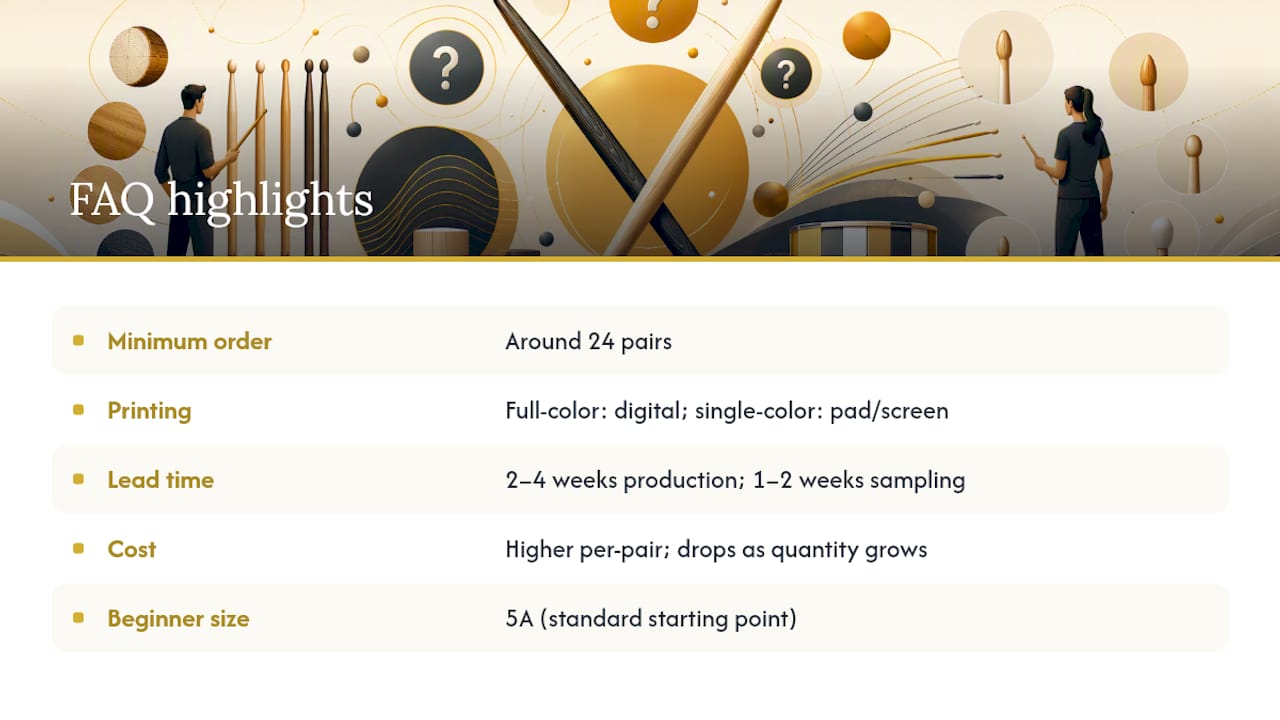
What size drumstick should a beginner start with? A 5A is the standard starting point for most beginners because it balances control and volume across nearly every genre before you know your preferred style.
Sources
- The Best Drum Sticks of 2026 | GC Riffs